- Solan Sync
- Posts
- [Special Tricks] Making Your GPT Super Smart by Adding Special Tricks with GPT Actions
[Special Tricks] Making Your GPT Super Smart by Adding Special Tricks with GPT Actions
This guide explores the process of adding sophisticated automation to your GPT through GPT Actions. These actions enable your GPT to interact seamlessly with a variety of apps, enhancing its capabilities.
[Special Tricks] Making Your GPT Super Smart by Adding Special Tricks with GPT Actions

This guide explores the process of adding sophisticated automation to your GPT through GPT Actions. These actions enable your GPT to interact seamlessly with a variety of apps, enhancing its capabilities.
We’ll demonstrate this by using Zapier Actions to automate email tasks in Gmail. The same methodology can be applied to integrate with other platforms like Google Sheets, Drive, and Calendar.
Here’s a simple three-step process:
Step 1: Incorporating Zapier Action into Your GPT To begin, access the configuration settings of your GPT.
If you don’t have a GPT set up, create one by following these steps:
Navigate to the left sidebar and select “Explore.” Proceed to “Create a GPT” in the My GPTs section.

This will take you to the GPT Builder. Here, click on Configure, and choose “Create New Action.”
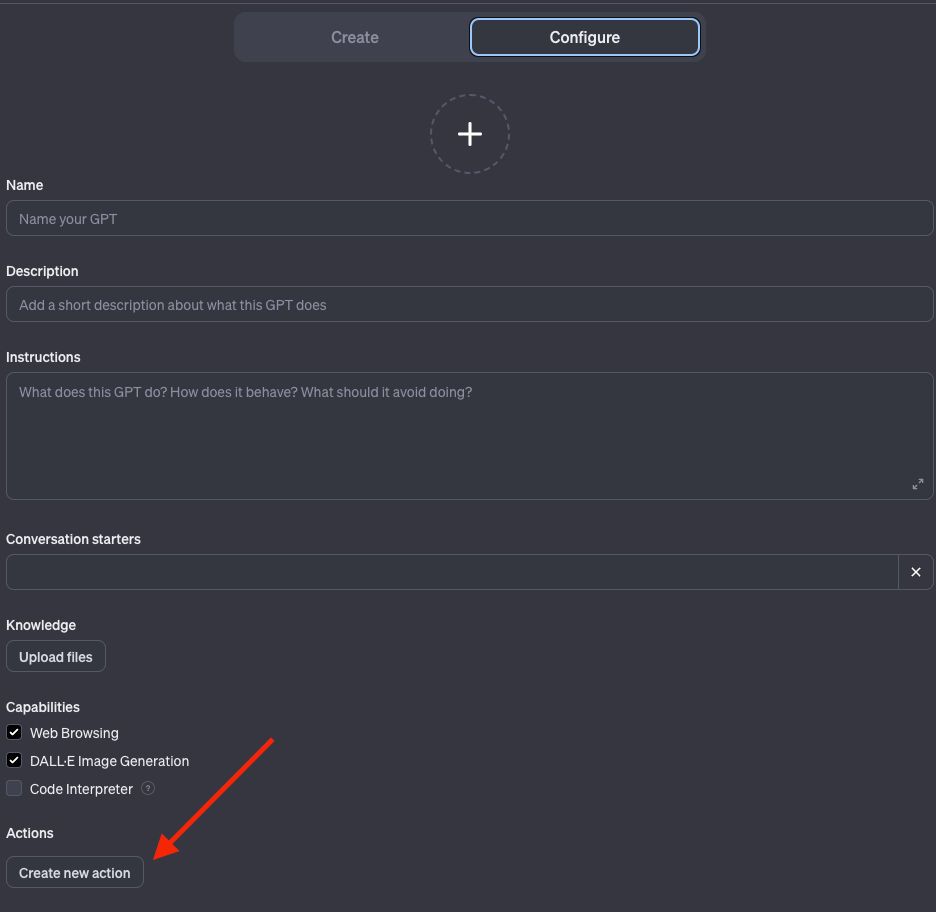
A new window will open.
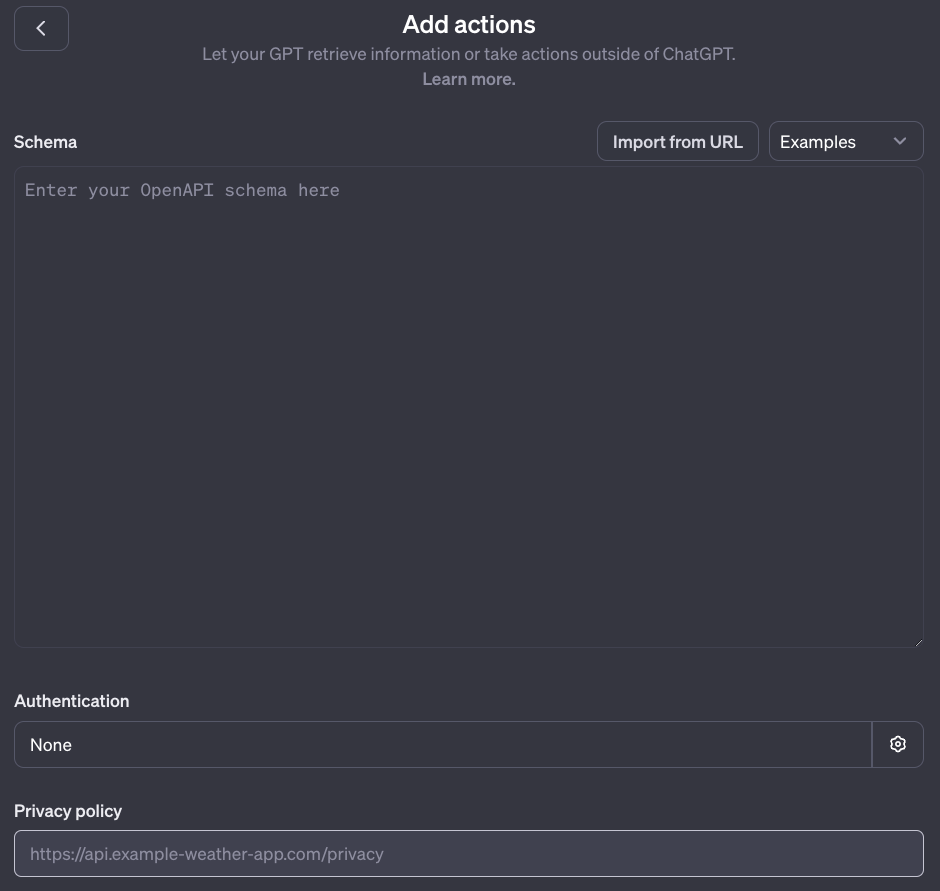
Select “Import from URL,” input the following URL, and click on Import.
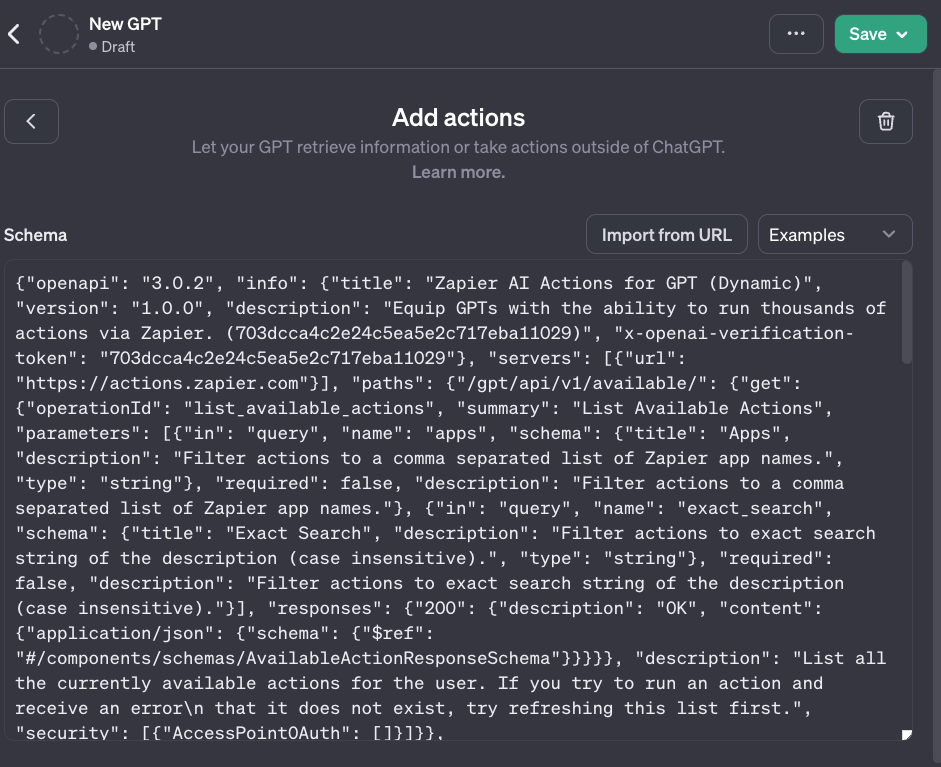
This action will add a series of text to the schema. Keep these as they are.
With this, the “Add actions” phase is complete.
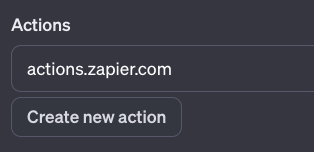
You can now return to the Configure section by clicking the < button. In the “Actions” section, you will notice the newly added Zapier action.
Step 2: Telling Your GPT What to Do with Zapier’s Help
Zapier can do lots of things, like sending emails or changing stuff in an Excel sheet. We need to tell our GPT exactly what we want it to do with Zapier’s help.
Zapier uses a special way of doing things. So, you need to add some extra words to your GPT’s instructions. These words are from Zapier and you should copy and paste them into your GPT’s instructions.
### Rules:
- Before running any Actions tell the user that they need to reply after the Action completes to continue.
### Instructions for Zapier Custom Action:
Step 1. Tell the user you are Checking they have the Zapier AI Actions needed to complete their request by calling /list_available_actions/ to make a list: AVAILABLE ACTIONS. Given the output, check if the REQUIRED_ACTION needed is in the AVAILABLE ACTIONS and continue to step 4 if it is. If not, continue to step 2.
Step 2. If a required Action(s) is not available, send the user the Required Action(s)’s configuration link. Tell them to let you know when they’ve enabled the Zapier AI Action.
Step 3. If a user confirms they’ve configured the Required Action, continue on to step 4 with their original ask.
Step 4. Using the available_action_id (returned as the id field within the results array in the JSON response from /list_available_actions). Fill in the strings needed for the run_action operation. Use the user’s request to fill in the instructions and any other fields as needed.
REQUIRED_ACTIONS:
- Action: <paste name of action here>
Confirmation Link: <paste link here>
The text has two fields that you need to fill: Action and confirmation link. We’ll get this from the Zapier website in the next step.
Step 3: Setting Up a New Trick on Zapier
In this step, we’re going to make a new automation trick that we’ll add to our GPT.
To start creating your automation (or action), visit the Zapier website. If you aren’t already signed up on Zapier, you’ll need to make an account. After you log in, your screen will look something like the image shown here (but don’t worry about the “send email” action I set up for this example).
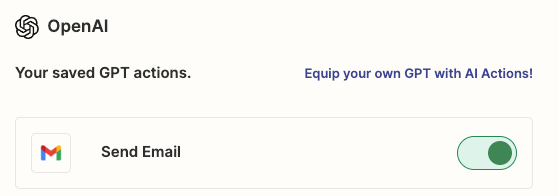
Next, you need to find and click on “Add a new action” at the bottom. After that, a page will pop up where you can look for lots of different apps like Gmail, Excel, YouTube, and more. In this guide, we’re going to pick “Gmail send email” so we can use our GPT to send an email through Gmail.
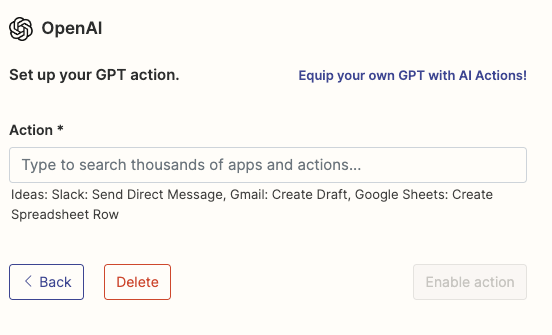
Now, go to the bottom and click on “Add a new action.” This will open a page where you can search through many apps such as Gmail, Excel, YouTube, and others. For our example, we’ll choose “Gmail send email” to show how our GPT can help send an email using Gmail.
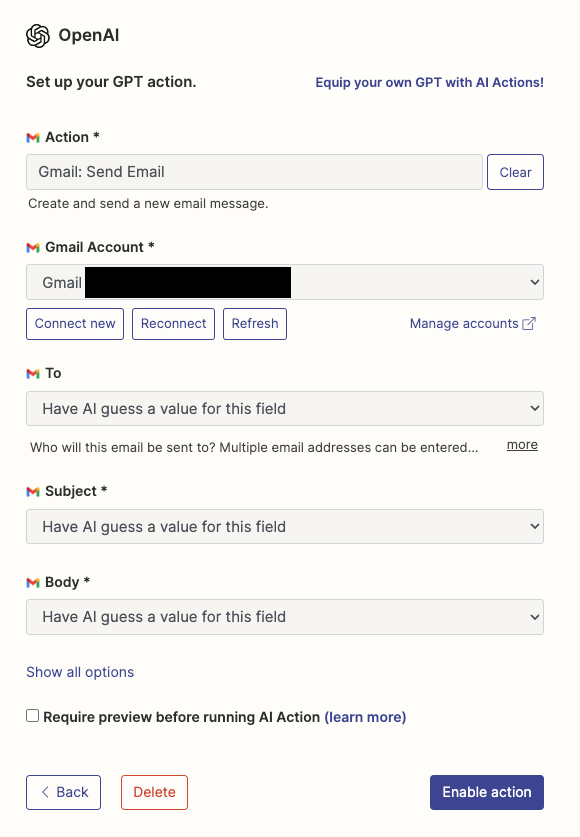
That’s almost all there is to it! Now, just click on “Enable action.”
Your action is now set up! Next, we need to find the Action name and Confirmation Link. To do this, simply choose our action from the list.
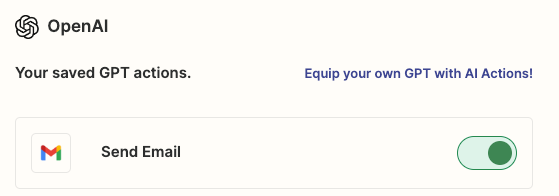
Next, we’ll go back to the “Set up your GPT action” area. This is where we find the Action and Confirmation Link.
Confirmation Link: Simply copy the website link provided (it begins with actions.zapier.com/gpt/action/).
Action Name: Select “Show all options” and scroll down to “Action Name.” Here, you can type in whatever name you choose for your action.

I’ve decided to call my action “Send email.”
Make sure to copy the name of the action and the link, and then add them into the instructions for your GPT. Now, the “Required_Actions” section will look something like this.
Now that you’ve filled in the “Required_Actions,” go ahead and save your GPT. It’s ready for a test run!
### Trying Out the Action
Launch your GPT and use this test command:
Type in: Send an email “Hello World” to [email protected]
Remember, you should have linked your main Gmail account to Zapier. So, in the test, use a different email address (it doesn’t need to be a Gmail one).
Once you hit enter, you might see a message pop up. Just click on “Allow” to proceed.

If you take a look at your inbox, there should be a new email waiting for you. For this test, I received an email from my Gmail account, and both the subject and the content said “Hello World.”
Thank you for reading this article so far, you can also get the free prompts from here.
What Will You Get?
Access to my Premium Prompts Library.
Access our News Letters to get help along your journey.
Access to our Upcoming Premium Tools for free.
Also, Check out https://www.solan-ai.com/
Subscribe My NewsLetter now!
Reply